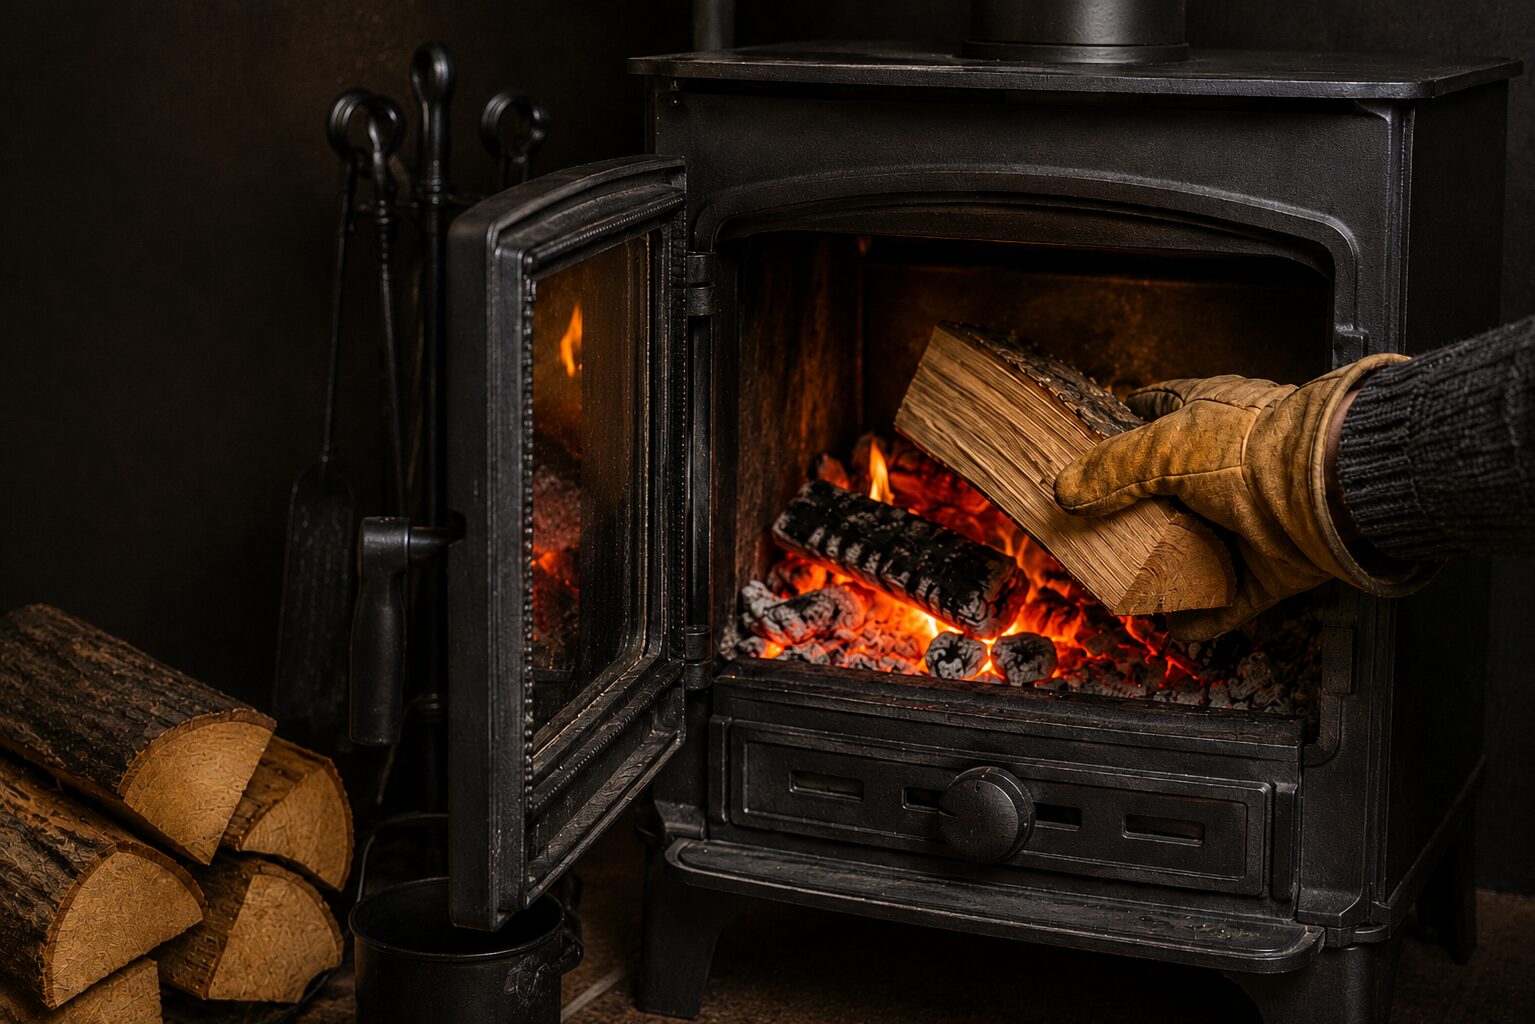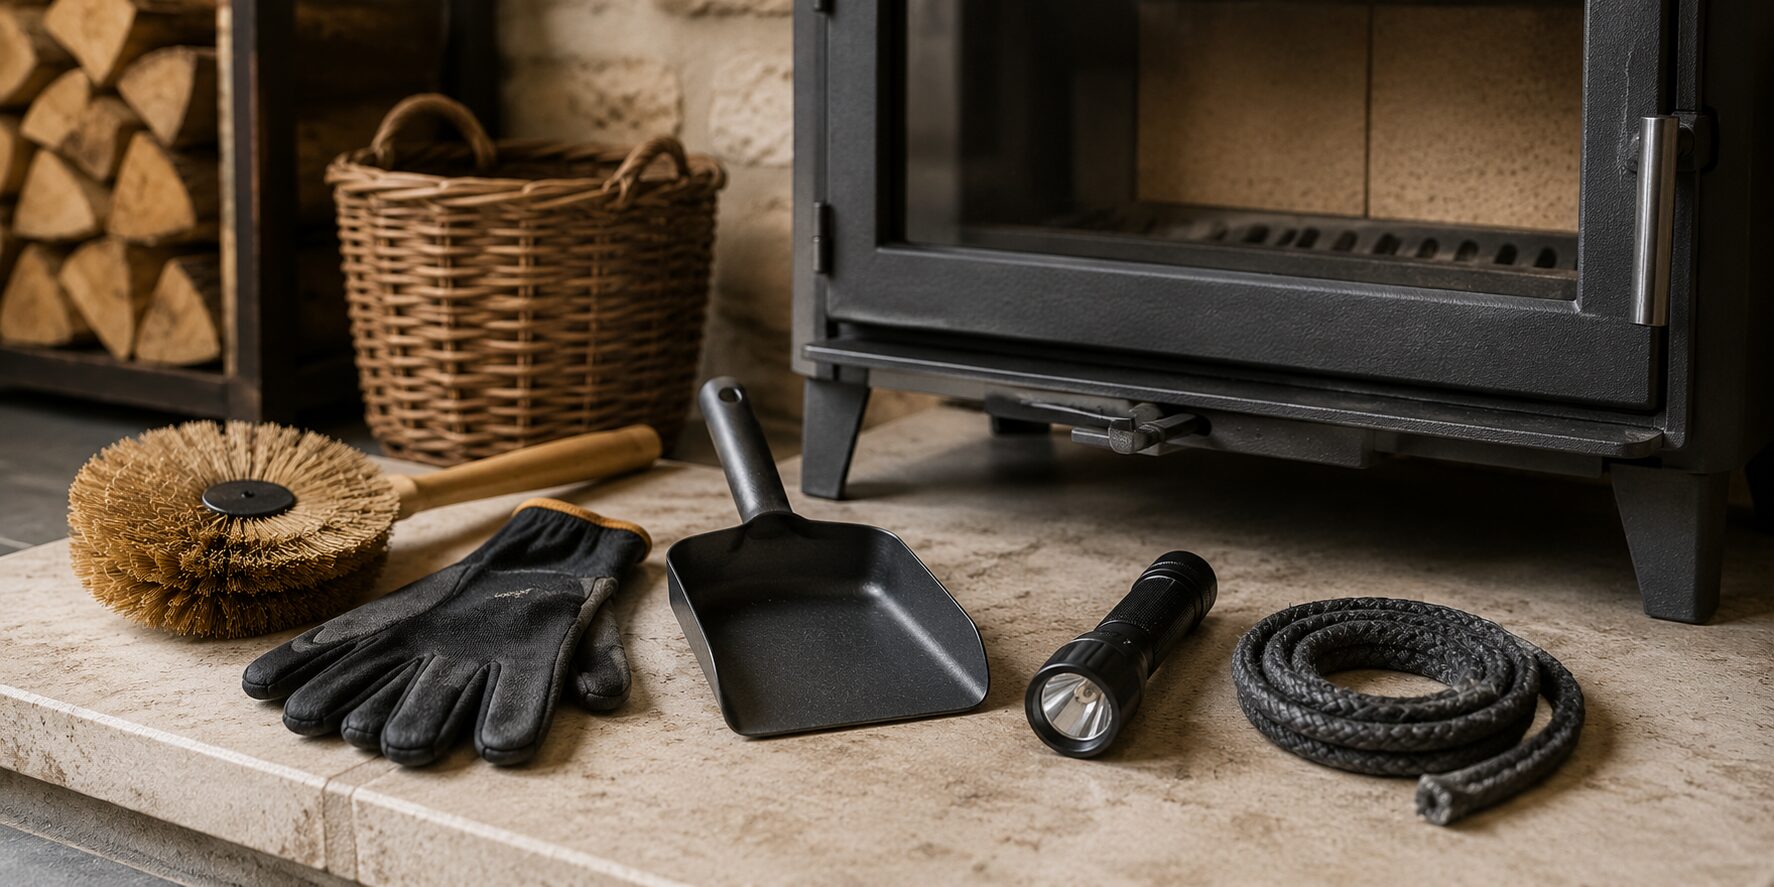
A wood-burning stove should be checked regularly and given a fuller inspection before the main heating season. Look at the door seal, glass, internal lining, baffle, grate, airways and flue connection while the appliance is completely cold. Keep the chimney swept and maintain a working carbon monoxide alarm.
The appliance manual remains the correct maintenance schedule for your model. Some components are designed to be removed by the owner. Others should be handled only by a competent person.
At RW Knight & Son, trading as Knight Stoves, we supply stoves, maintenance products and replacement parts for many established brands. We also refurbish selected appliances and can help identify consumable components such as glass, rope seals and internal linings.
Before you begin
Make sure:
- The fire is fully extinguished.
- The stove and ash are completely cold.
- The room is well lit.
- You have the appliance manual.
- The hearth is protected from dust.
- You wear suitable gloves and avoid breathing soot.
Do not use water to cool ash or hot components. Hidden embers can remain hot for a long time.
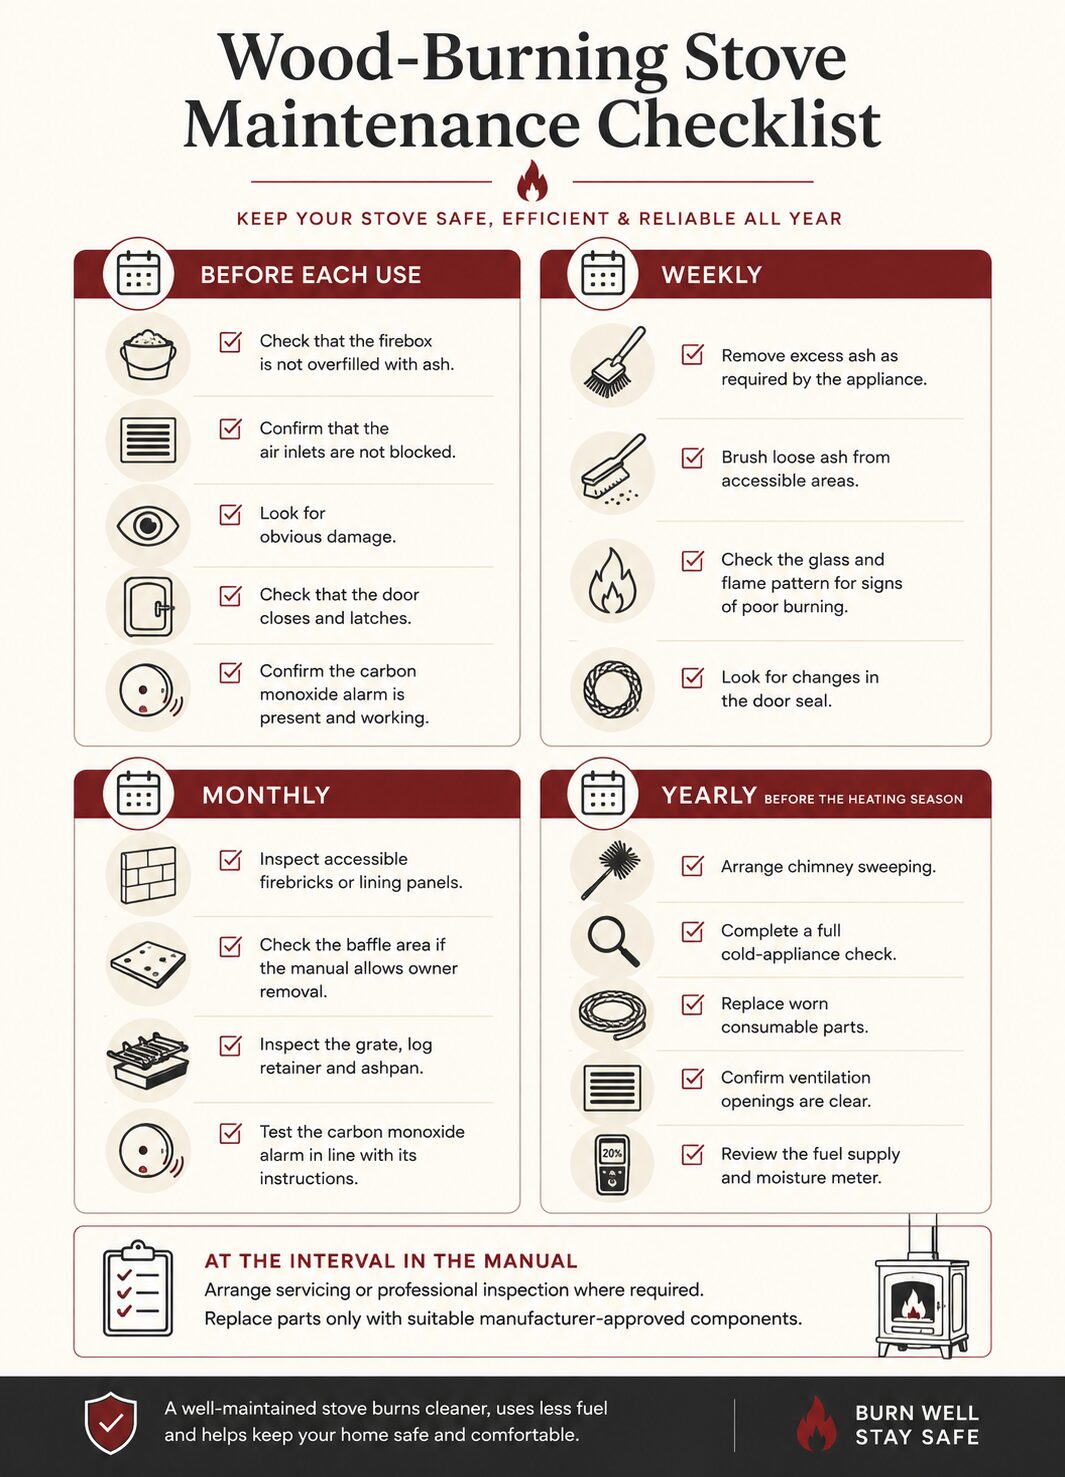
Quick maintenance schedule
Before each use
- Check that the firebox is not overfilled with ash.
- Confirm that the air inlets are not blocked.
- Look for obvious damage.
- Check that the door closes and latches.
- Confirm the carbon monoxide alarm is present and functioning.
Weekly during regular use
- Remove excess ash as required by the appliance.
- Brush loose ash from accessible areas.
- Check the glass and flame pattern for signs of poor burning.
- Look for changes in the door seal.
Monthly during the heating season
- Inspect accessible firebricks or lining panels.
- Check the baffle area if the manual allows owner removal.
- Inspect the grate, log retainer and ashpan.
- Test the carbon monoxide alarm in line with its instructions.
Before the heating season
- Arrange chimney sweeping.
- Complete a full cold-appliance check.
- Replace worn consumable parts.
- Confirm ventilation openings are clear.
- Review the fuel supply and moisture meter.
At the interval in the manual
- Arrange servicing or professional inspection where required.
- Replace parts only with suitable manufacturer-approved components.
1. Check the door seal
The rope seal around the door helps control the air entering the stove. If it becomes compressed, damaged or loose, the appliance may draw uncontrolled air.
Possible signs of a failed seal include:
- The fire burns too quickly.
- The stove remains difficult to control.
- The glass dirties unevenly.
- The door feels loose when latched.
- Rope is frayed, hard, flattened or missing.
A simple paper test can help:
- With the stove cold, place a strip of paper between the door and body.
- Close and latch the door.
- Gently pull the paper.
- Repeat around the door.
The resistance should be reasonably consistent. This is only an initial check. Door design and seal pressure vary, so compare with the manufacturer’s guidance.
Video courtesy of the Stove Industry Association Knowledge Hub. Use the correct rope diameter, density, adhesive and joint position for the appliance.
Do not fit a thicker rope simply to make the door feel tighter. Incorrect material can distort the door, prevent safe closure or damage the glass.
2. Inspect the firebricks and internal lining
Stove linings protect the body and help the firebox retain heat. They may be made from vermiculite, refractory material, cast iron or another manufacturer-specified product.
Some surface marks and fine hairline cracks can occur through normal heating and cooling. Replacement may be needed when a panel:
- Has broken into loose pieces.
- Is badly eroded.
- No longer stays in position.
- Exposes the stove body where it should provide protection.
- Interferes with the baffle, grate or fuel.
Video courtesy of the Stove Industry Association Knowledge Hub. Lining condition and replacement limits differ between models.
Avoid striking the lining when loading fuel. Place logs rather than throwing them into the firebox.
3. Check the baffle or throat plate
The baffle directs hot gases through the stove before they enter the flue. It works in a demanding high-temperature area and can collect ash or become distorted.
Where the manual permits removal:
- Note its correct position before taking it out.
- Support it carefully.
- Brush off loose deposits.
- Check for warping, cracks or burn-through.
- Clear ash that has collected above it.
- Refit it exactly as shown in the manual.
An incorrectly fitted baffle can affect combustion and allow excessive heat into the flue. Ask for help if its position is unclear.
4. Inspect the glass and glass gasket
Stove glass is heat-resistant, but it can still break through impact, pressure or incorrect fitting.
Check for:
- Cracks or chips.
- A loose glass panel.
- Missing or wet gasket material.
- Metal clips that are overtightened or corroded.
- A log retainer that no longer protects the glass.
Do not use a stove with cracked glass. Replace it with the correct heat-resistant panel and gasket arrangement.
Video courtesy of the Stove Industry Association Knowledge Hub. Never clean hot glass or use an abrasive product unless the stove manufacturer permits it.
Read our guide to why stove glass turns black for fuel and combustion causes.
5. Clean the stove body correctly
For a painted stove
- Let it cool fully.
- Remove dust with a soft natural-bristle brush or dry cloth.
- Use only approved stove paint or polish where the manufacturer permits it.
For an enamelled stove
- Use a soft dry cloth for routine dust.
- Follow the manufacturer’s guidance for marks and specialist enamel cleaner.
Avoid household sprays, silicone polish and wet cleaning around hot or porous materials. Synthetic cloths can melt if the stove retains heat.
6. Manage ash safely
The correct ash bed depends on the appliance and fuel.
Wood often burns well on a shallow bed of ash. Mineral fuels normally need airflow through a grate and more frequent ashpan emptying.
Follow these rules:
- Remove only excess ash.
- Use a metal container with a lid.
- Treat ash as potentially hot for an extended period.
- Keep the container outdoors on a non-combustible surface away from buildings.
- Do not place warm ash in a plastic bin.
- Do not allow ash to build until it blocks the grate or touches internal components that need airflow.
Ash from treated or unsuitable material should not be reused in the garden.
7. Inspect the grate, riddling mechanism and ashpan
In a multi-fuel stove, check:
- Grate bars for distortion or cracking.
- The riddling mechanism for free movement.
- The ashpan for holes or warping.
- Air passages beneath the grate.
Do not leave an ashpan door open to boost a fire unless the manual specifically requires a brief procedure. Uncontrolled under-fire air can cause overfiring.
8. Keep airways clear
Ash can collect in airwash slots, tertiary-air holes and channels around the firebox.
Only clean areas the manual identifies as user-accessible. Do not push tools into hidden passages or dismantle control mechanisms without proper instructions.
A change in flame pattern or loss of control may indicate blockage, seal failure or another fault that needs professional attention.
9. Sweep and inspect the chimney
A clean stove cannot compensate for a blocked flue.
HETAS encourages:
- At least two sweeps a year when burning wood.
- At least one sweep a year when burning smokeless fuel.
The actual frequency depends on use, fuel, appliance and chimney.
Video courtesy of the Stove Industry Association Knowledge Hub. Use a competent chimney sweep and retain the service record.
Read our complete guide to chimney sweeping frequency.
10. Check ventilation and the surrounding area
Permanent air vents must remain open and unobstructed. Do not cover them because of draughts without professional advice.
Also check:
- Furniture has not moved too close to the stove.
- Fuel is stored at a safe distance.
- The hearth remains sound.
- Decorative items are not exposed to excessive heat.
- An extractor fan has not been added without considering the stove.
- The flue connection shows no obvious movement, staining or corrosion.
Clearances are specific to the appliance and installation. Use the manual and installation record.
11. Test the carbon monoxide alarm
A solid-fuel installation needs a working audible carbon monoxide alarm positioned in line with Building Regulations and the alarm manufacturer’s instructions.
Test the alarm regularly. HETAS advises at least monthly.
Replace the battery or alarm when required. Many alarms have a fixed service life, shown on the unit.
If it activates:
- Stop using the appliance if safe.
- Ventilate and leave the building.
- Seek medical help if anyone is unwell.
- Do not reuse the stove until it and the chimney have been checked.
12. Use the right fuel
Maintenance begins with fuel choice.
Use:
- Clean, untreated logs.
- Moisture content of 20% or less.
- Correct log dimensions.
- Approved smokeless fuel only in a suitable multi-fuel appliance.
Do not burn waste timber, MDF, chipboard, rubbish or wet wood.
View Knight Stoves fuel and firelighters and read what can be burned in a wood-burning stove.
When should you stop using the stove?
Do not continue using it if:
- The glass is cracked.
- The door will not latch.
- The fire cannot be controlled.
- Smoke enters the room.
- The CO alarm activates.
- The baffle has collapsed.
- A lining panel exposes a vulnerable part of the stove.
- The flue connection appears loose or damaged.
- Metal components glow red during ordinary operation.
- You suspect a chimney fire.
Arrange the correct inspection and repair before relighting.
Parts that wear through normal use
Many stove warranties exclude consumable parts, including:
- Rope seals.
- Glass and gaskets.
- Firebricks or lining panels.
- Baffles.
- Grates.
- Log retainers.
- Ashpans.
This does not mean they are unimportant. Regular replacement protects the rest of the appliance.
Knight Stoves holds many common components and can source parts for the brands we sell. Bring the make, model, serial number and photographs where possible.
Frequently asked questions
How often should a wood-burning stove be serviced?
Follow the manufacturer’s schedule. A thorough check before the heating season is sensible, with professional servicing at the stated interval or sooner if performance changes.
Can I replace a stove rope seal myself?
Some owners can replace a straightforward seal using the exact specified material, but door design and adjustment vary. Incorrect rope can create poor sealing or excessive pressure. Ask for help if the specification is uncertain.
Are cracked firebricks dangerous?
Fine stable cracks may be acceptable on some lining materials, while loose, eroded or displaced panels may need replacement. Follow the manufacturer’s criteria.
Can I use household glass cleaner?
Use only a product and method approved by the stove manufacturer. Never clean hot glass and do not soak rope or gaskets.
Should I remove all ash after every fire?
Not usually for a wood burner. Many logs burn well on a shallow ash bed. Remove excess ash according to the appliance instructions.
Maintenance support from Knight Stoves
Visit our Marshfield showroom or call 01225 891469 for help with stove glass, rope seals, internal linings, fuel and maintenance products. For installation or chimney concerns, use a suitably qualified professional.
Explore:
Written and reviewed by the RW Knight & Son team. Proud SIA Retail Group member. This checklist provides general guidance. Follow the manual for the exact appliance and use competent professional support where required.